
- Book Signing at Bailey H. Dunlap Library
- Young Author Selene Olguin Continues Local Book Tour
- La Feria Community Holds Succesful Business Mixer Event
- Little Nashville to Take Place in Downtown Mercedes
- Lions Basketball Captures District Gold
- La Feria ISD Students Compete in Regional Chess Tournament
- Lions End First Half of 32-4A on a High Note
- La Feria ISD Held Another Successful Parent Conference
- Strong Appearance for Lions at Hidalgo Power Meet
- LFECHS Students Get to Meet Local Actress
Once you have the correct container, here’s how to use it properly
- Updated: August 27, 2020
By ANN JOHNSTON
LFN
In past articles of the Garden Gate, we have discussed many different types of containers and why one would use containers in our Rio Grande Valley. Here are some hints and suggestions for the actual potting of your plants.
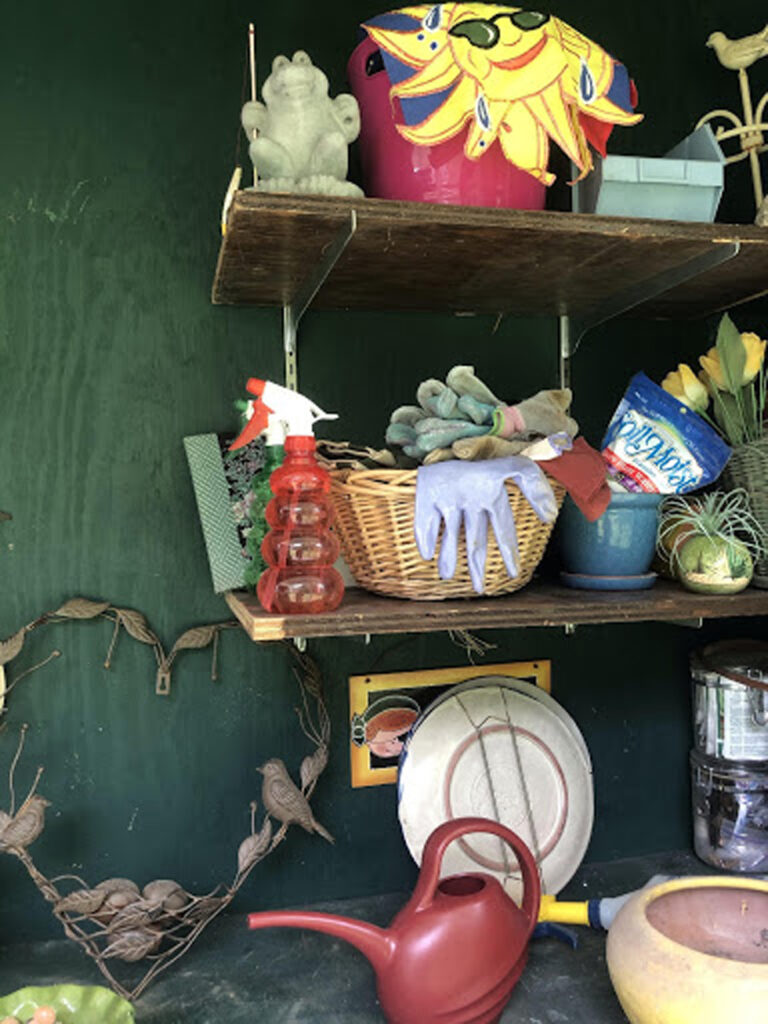
First, have an area set up with the items you will be using. If you have to assemble everything each time you need to pot a plant, you will hesitate before even starting. So, keep everything close by or have a permanent location, if you are fortunate. Make sure the spot is close to a water faucet, hose or watering can then gather your soil, spade and item or items being planted.
Plan ahead as to where your completed container will finally be placed. If the container is large, you might need to do all or part of the work where it will end up because of the weight and difficulty moving it.
Next, if using a clay pot, soak it first in a bucket of water. Have the soil already moist and then soak the plant in its original plastic pot so that its root ball is wet. Now you will have a good healthy start for your plant.
Finally, set your plant into the soil in the container, add some damp soil, if needed, and water the whole thing again gently.
Suggestions: Leave the soil two inches or so below the container rim to prevent the soil washing out when watering.
• If planting seeds or bulbs, read the directions on the packet or container as to how deep to plant them. Be sure to put the bulb’s root end down. Some are difficult to tell what is right side up, but there is usually a sketch to help you.
• The bigger the pot, the less often you have to water. Small containers might need to be watered every day.
• Plastic or ceramic pots need less watering than clay as clay soaks up the moisture for itself.
• Following the directions on the jar and mix some water-retaining crystals into your soil before planting.
• Be sure the container is in the amount of sun or shade needed by the plant. Don’t place containers in areas that might be too windy or have rain draining off the roof.
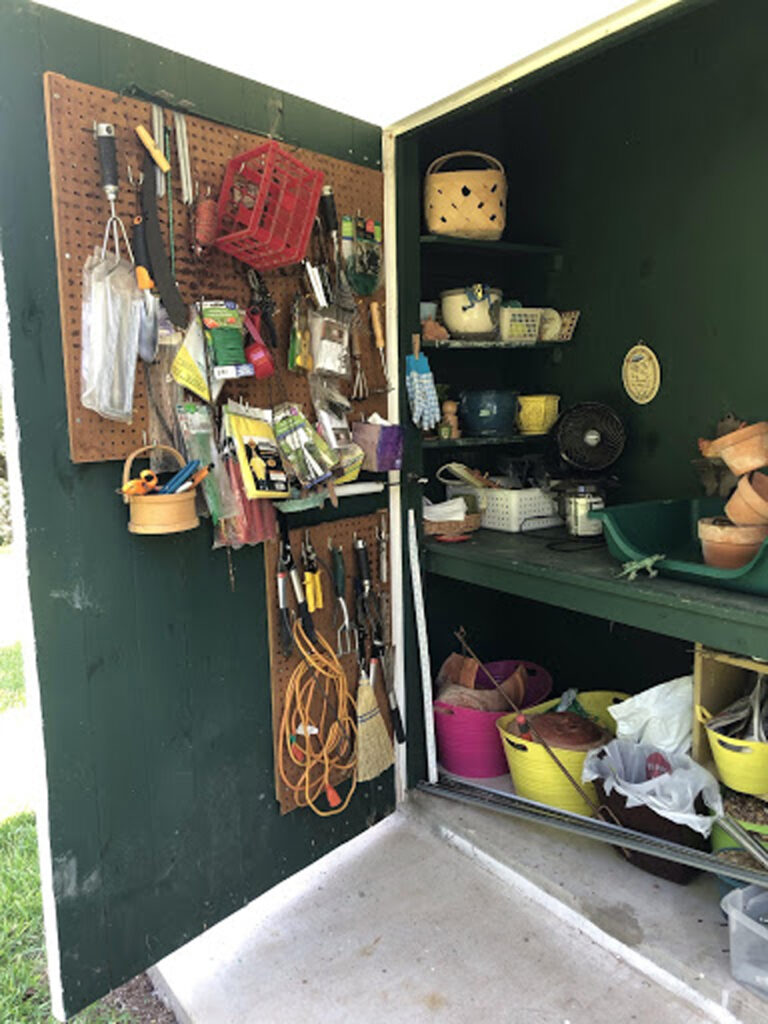
Hints: Be comfortable while working. In our area that probably means having a fan (and therefore an electric plug) nearby. Turn on music and keep the area clean so you will enjoy coming back there.
• Be sure your containers have drain holes! When watering pots, let water run until water is draining out the drain hole. Otherwise, you might only be watering the top few inches of your soil.
• Repurpose items you already have. Instead of just using your bucket for mopping, fill it full of water and soak your pot in it when starting a new container. Use any 4-6 inch deep container like a plastic shoe box to soak your bedding plants before planting. Look at what you already own rather than buying something new that then needs a storage place.
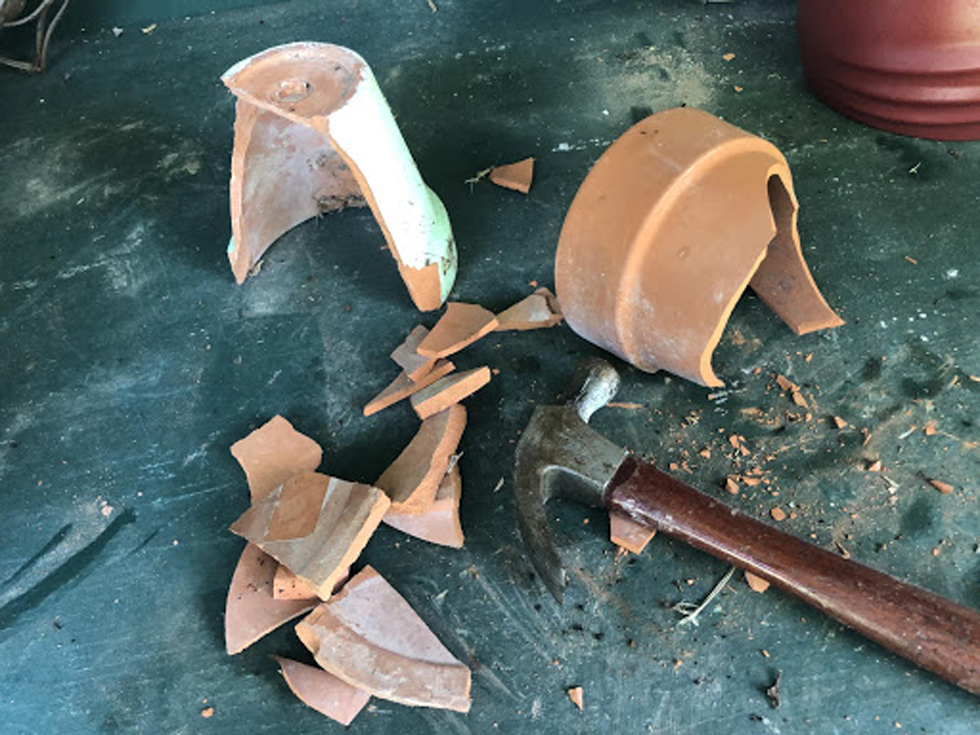
• Use broken pot shards to block the drain hole in a pot. Pebbles or rocks work, too.
• Save time by preparing some items all at once. For instance, spend a little time breaking up your cracked pots so that chore is done and material is ready to use.
• There are gloves made for potting that are thinner and made for working in muddy or wet soil instead of the heavy cotton or leather gloves that make it difficult to “feel” what you are handling.
Come through the Garden Gate next week for more hints and suggestions for gardening in our Magic Valley.